
Supplies used:
- Raspberry Pi
- HDMI cord
- USB power cord
- SDCard 4GB (Class 10)
- Laptop
First was to flash the SDCard with Raspbian. This is a Debian release optimized for raspberry pi hardware.
Linux from a terminal:
- $ df -h
or
$ fdisk -lFind the /dev/sdd1 that the SDCard is plugged into. Might be easiest to do this without the card plugged in and then a second time plugged and you should be able to tell which disk it is. - sudo unmount /dev/sdd1
Replace the /dev/diskX with the disk number of the SDCard. - $ unzip 2012-12-16-wheezy-raspbian.zip
- Once the disk is unmounted then you may start the imaging process by:
$ sudo dd bs=1M if=2012-12-16-wheezy-raspbian.img of=/dev/sdd - dd does not give any feedback of how the process is going and it could take 5 minutes to image. To get some feedback you can get the info of the process id of dd that is running.
In a new window or tab:
$ ps auxf | grep dd - With the process id # of dd type this:
$ sudo kill -s USR1 #Look back at the window running dd and you should see some info on the screen about how many bytes it has written.
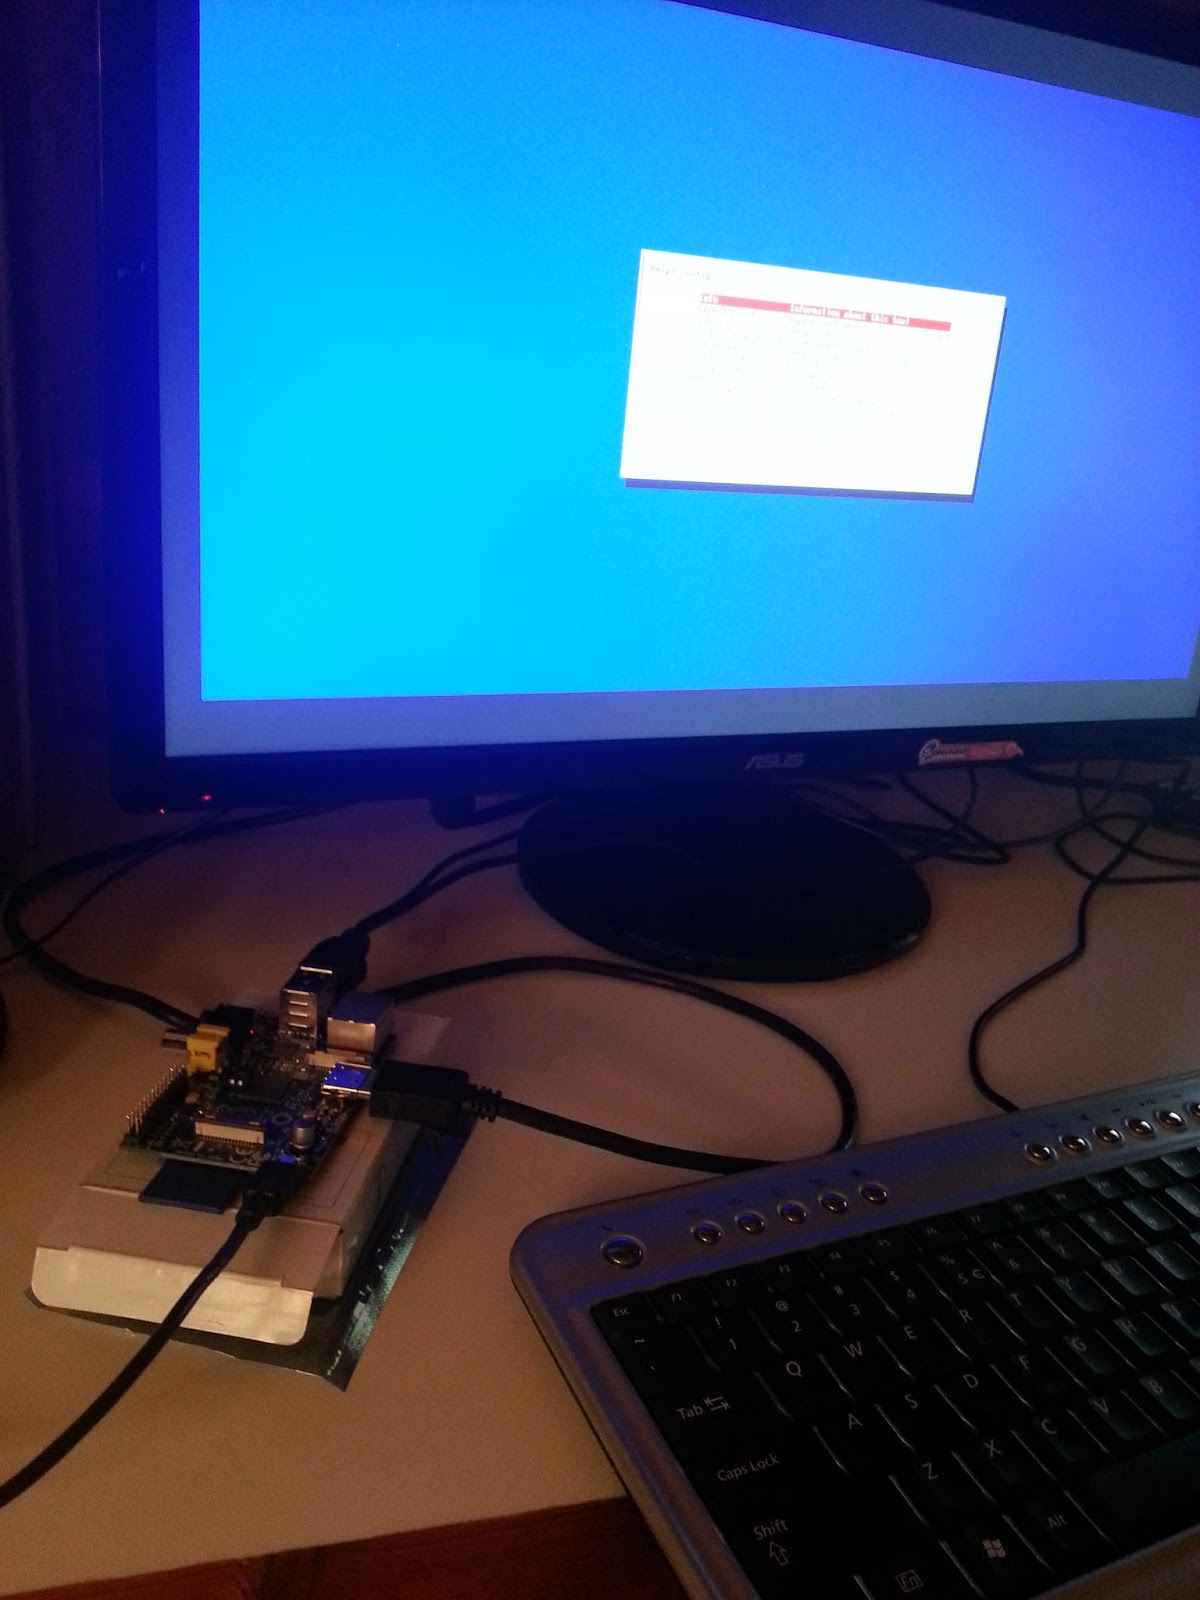
Next, we needed to connect it all up and see if it will boot!
- Put the flashed SDCard into the Raspberry Pi
- Connect the HDMI cable to the Pi and TV or monitor.
- Connect a USB keyboard
- (Optional) Connect a USB mouse
- (Optional) Connect an ethernet cable to your router
- Connect the USB mini to power up the Raspberry Pi
Something we found out was that not all HDMI ports work the same. After a couple hours of working to get the Pi to display in 1080p we switched the HDMI port to the second one on the TV we had and it started working automatically. My first advice if the Pi is displaying in low resolution and it should be higher then try another HDMI port first.
After the boot up we need to expand the root file system to take advantage of the full SDCard space.
- expand_rootfs

Then the Root partition will be resized.
Configuring your installation:
- configure_keyboard if you are not using a UK keyboard.
- change_local
- change_timezone
- ssh - enable ssh to make it remotely accessible.

After the configuration if complete select the Finish button at the bottom and reboot the Pi.
Now after the reboot it will boot to the command prompt. In order to change any of the configuration options of the Pi after the first boot you may run:
$ sudo raspi-config
$ sudo raspi-config
The default username/password for Raspbian is pi/raspberry.
To get into the windowing mode you need to start the x windowing manager:
$ startx
The default windowing manager that Raspbian comes with is LXDE (Lightweight X11 Desktop Environment) This comes installed with a fast and lightweight web browser Midori.

I hope this might inspire you to get a Raspberry Pi and use it in an interesting way. As I work on other projects I will continue to think of interesting ways to use the pi. Here are some of the ideas I have found and thought about doing myself. Not sure what which I will get around to doing.
- Controlling water droplets (http://www.raspberrypi.org/archives/2986)
- Controlling a traffic light for multiple purposes like Jenkins builds
- Automating blinds to open and shut
- Control the easy button
Here are some other hacking ideas
