After looking at the vagrant-kvm plugin I found a list of all the Vagrant plugins. This turns out to have vagrant-libvirt as a plugin. libvirt is a library used to control many different virtualization technologies. You can think of it as a common API for hypervisors like KVM/QEMU, Xen, LXC, OpenVZ, Virtualbox, VMware, and Hyper-V. From my experience with OpenStack, I quickly understood the power of this plugin.
In the README for vargrant-libvirt it explains the installation process very clearly. One of the things that makes vagrant really nice now is that you can setup simple puppet or chef provisioning to the instance that you create. It is just a simple configuration change to the Vagrantfile and you are on your way.
Here is the base Vagrantfile for libvirt.
Monday, May 27, 2013
Wednesday, May 8, 2013
Using Vagrant outside of the "Norm"
Vagrant has come along way with the version 1.0. Now you are freed from the handcuffs of Virtualbox. This is great news to be able to use any type of virtual machine. KVM is a common virtual machine used in production environments and its built in to linux. All it takes is installing a few packages and you can be up and running vagrant with kvm.
There is are a couple things that we need do first.
Install Vagrant's latest version from the download site.
Then install the plugin.
Once installed then we need to get a box and convert it for the kvm provider.
Here is a simple Vagrantfile you need to spin up your own KVM vagrant instance.
This is about as easy as it gets.
The code base for vagrant-kvm is located here. https://github.com/adrahon/vagrant-kvm#quick-start
Monday, May 6, 2013
My git .gitconfig customization
My .gitconfig has a couple nice alias's that i have found extremely helpful. I've found a couple around the internet as well and i think they are useful.
Monday, March 25, 2013
Cable TV DIY Weekend Troubleshooting
I had a issue with my TV not working in one of my bedrooms. I looked in the cable box where all the cables are housed. There were many cables and they were marked with room #s. This did me little good because I was unsure which room was which.
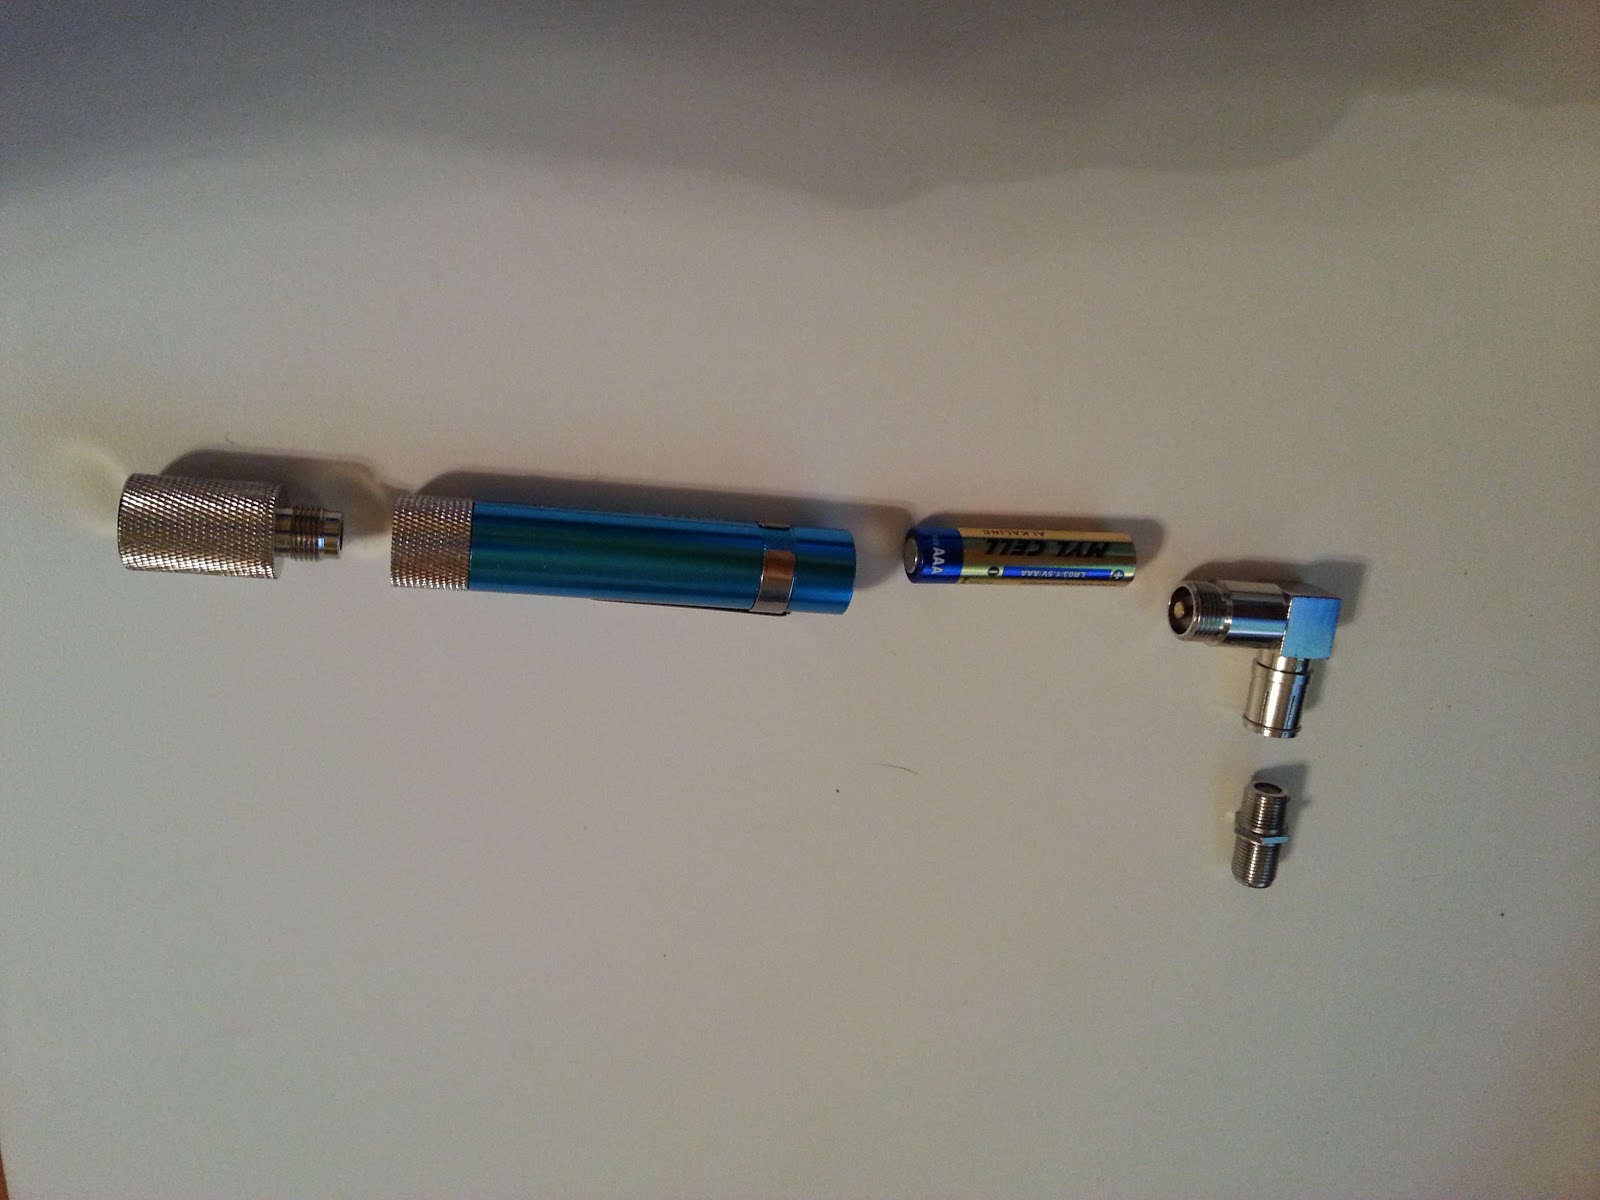

I read a little online and found that i needed a Coaxial Continuity Tester. This thing just determines if there is a short in the cable with just a light on one end or the cable is good if the tone generator goes off when connected to the other end of the cable.
So i plugged the battery into the connection point in each room and connected the tone generator to each of the cables in the cable box until I found the correct cable. I then marked the cable with a more meaningful name for the future.
After this one of the rooms still did not connect to a wire in the box. I decided to follow the cable in the attic and low and behold someone had cut the wire in the attic and used it to connect to another junction box. So i disconnected one of the other rooms and connected them with a Coax Cable Extension Adapter between the cables. Like magic I felt like the TV started working.
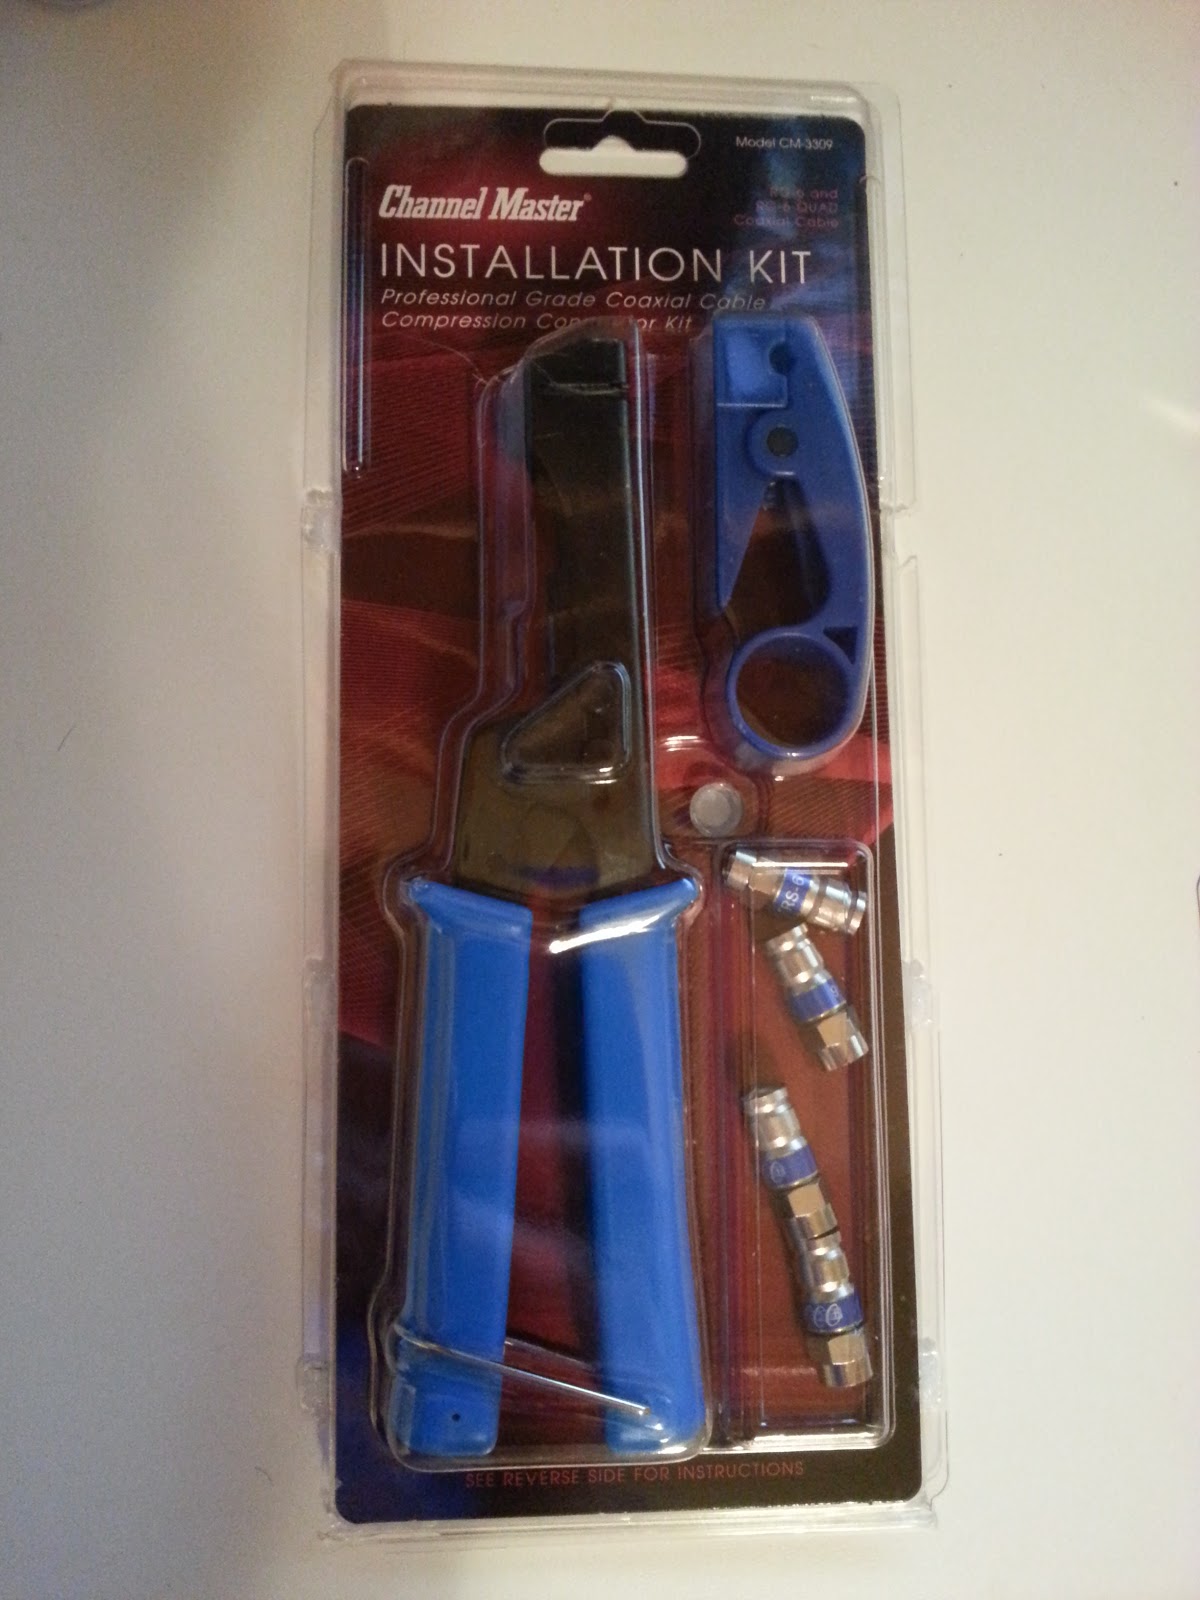
The Channel Master Installation kit has been a huge help in resetting the cable connectors where they were bad and needed to be replaced with new ones. This kit came with a stripper, the compression tool, and some connectors to get started.
This was an easy weekend project while March Madness has been going on.
On a side note go Florida Gulf Coast University #15 seed made it to the Sweet 16!
Wednesday, February 6, 2013
Creating a Private Git Server
So you want to write some super secret code? You want to keep it off public git servers? This is not as difficult as you might think to do. As a matter a fact if you are committing to git locally in a shell then you already have the git client setup.
I assume you have access to a Ubuntu Linux server that you can spin up or have one laying around your pad.
You are probably saying what? That's it? Yup! That's really it to get started.
sudo apt-get update
sudo apt-get upgrade
Alright we will call this server my.gitserver.net
We need to add the remote for the server to our local repo now.
I assume you have access to a Ubuntu Linux server that you can spin up or have one laying around your pad.
How do I set up a git server?
- Boot up a Linux Cloud Server.
- Configure user permissions.
- Install git-core.
- Profit.
You are probably saying what? That's it? Yup! That's really it to get started.
Boot up a Linux Cloud Server
Now that we have a server we can login and update all the packages.sudo apt-get update
sudo apt-get upgrade
Alright we will call this server my.gitserver.net
Configure user permissions
To configure the system my suggestion is to create a user called: git
sudo adduser git
Adding your public key to the server will allow you to bypass using a password.
This can be any username that can log into the server.
Install git-core
sudo apt-get install git-core
Easy right?
Setup git project
Login to the server as the git user and create the project.
ssh git@my.gitserver.net
mkdir super-secret-project.git
cd super-secret-project.git
git --bare init
Profit
So now we need our super secret project on a machine with some commits to push up to my.gitserver.net
mkdir super-secret-project
cd super-secret-project
git init
git remote add origin git@my.gitserver.net:super-secret-project.git
touch somefile.txt
git add somefile.txt
git commit -m "my first commit to my private git server"
git push origin master
Once we push the code up now that commit is now saved somewhere else.
Suggestions
- Always back up your data.
- Harden the security on your server
Resources:
Making my own Raspberry Pi Case
I soured the interwebs for a good case and decided I wanted to make one myself. "Cheap and easy" right? Well after looking around the Raspberry Pi forums and other sites I found some really interesting ideas like cardboard case, plexi-glass case, thick paper cut out case, 3D printer case, or Altoids case. These are all amazing ideas but the one that I think I can easily do with the supplies I have laying around is the thick paper cut out case.

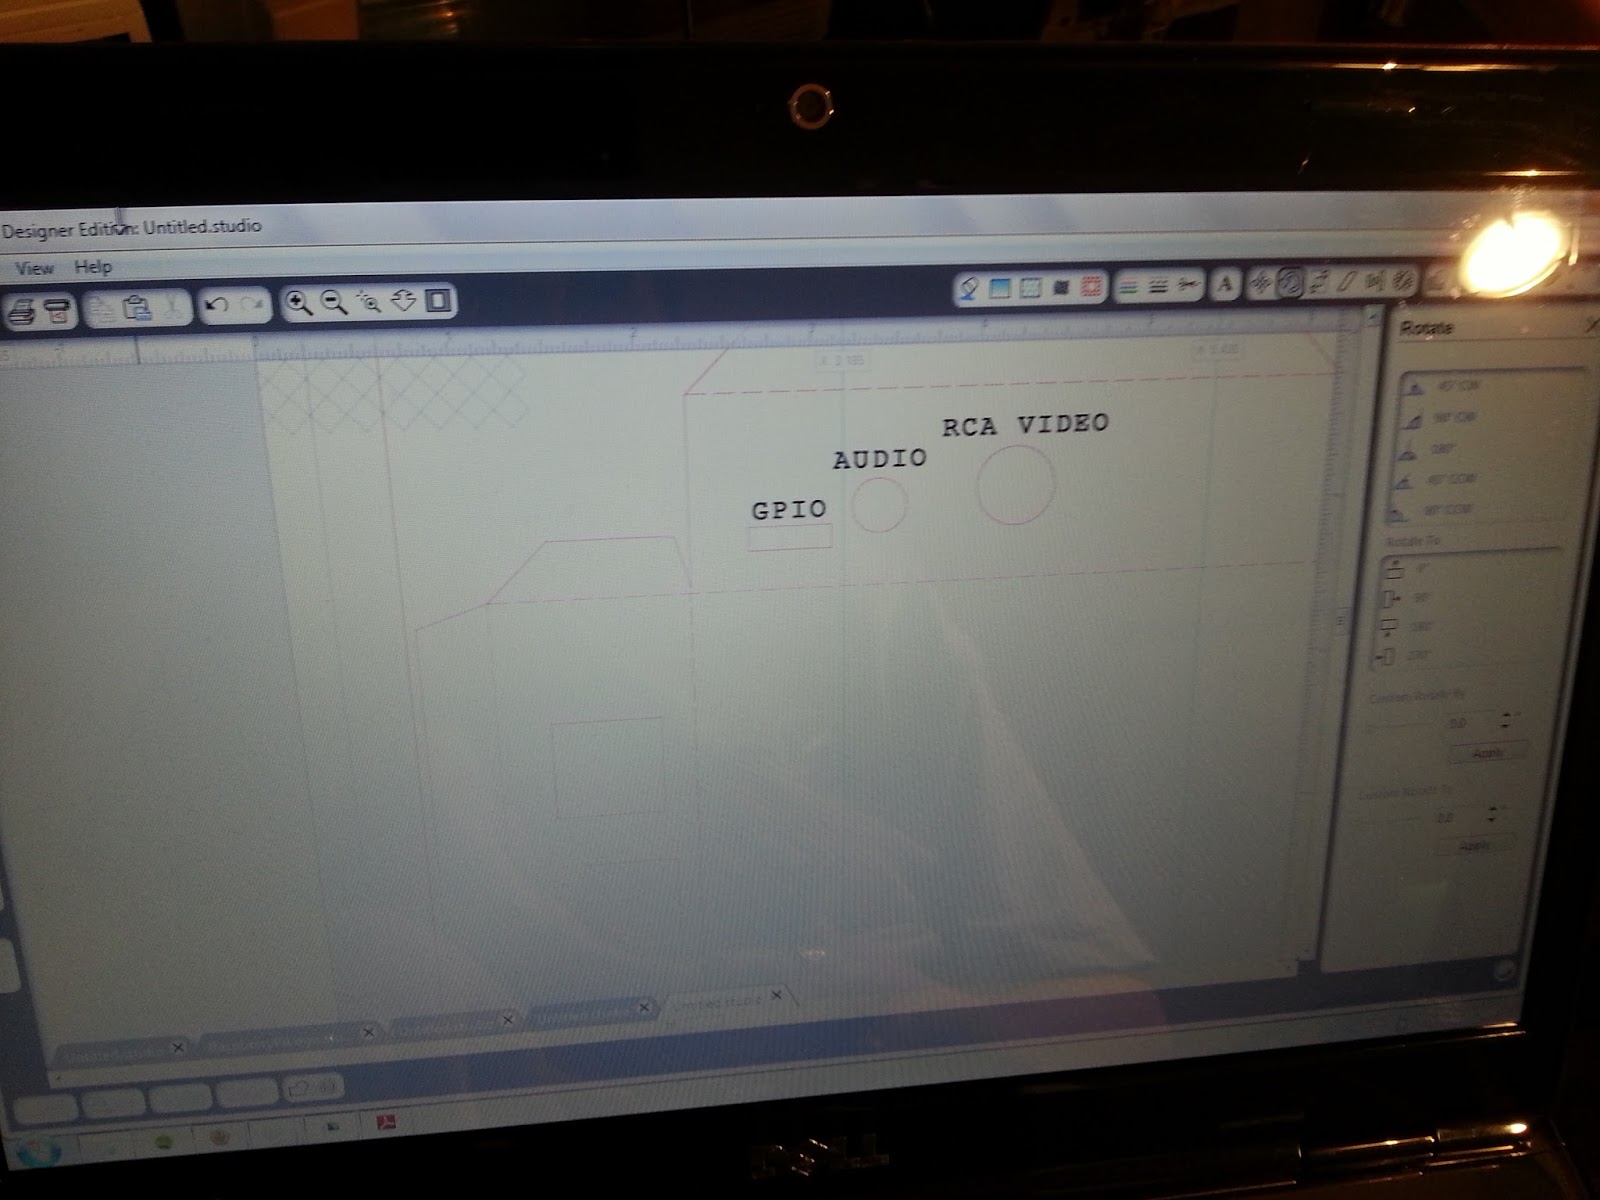

This turned out alright and she was on to cutting it out on red cardstock. She first printed the image and text on the paper with the registration marks. Then sent the cutout to the Silhouette Cameo. Here is the Silhouette Cameo design cutout file made from the others.


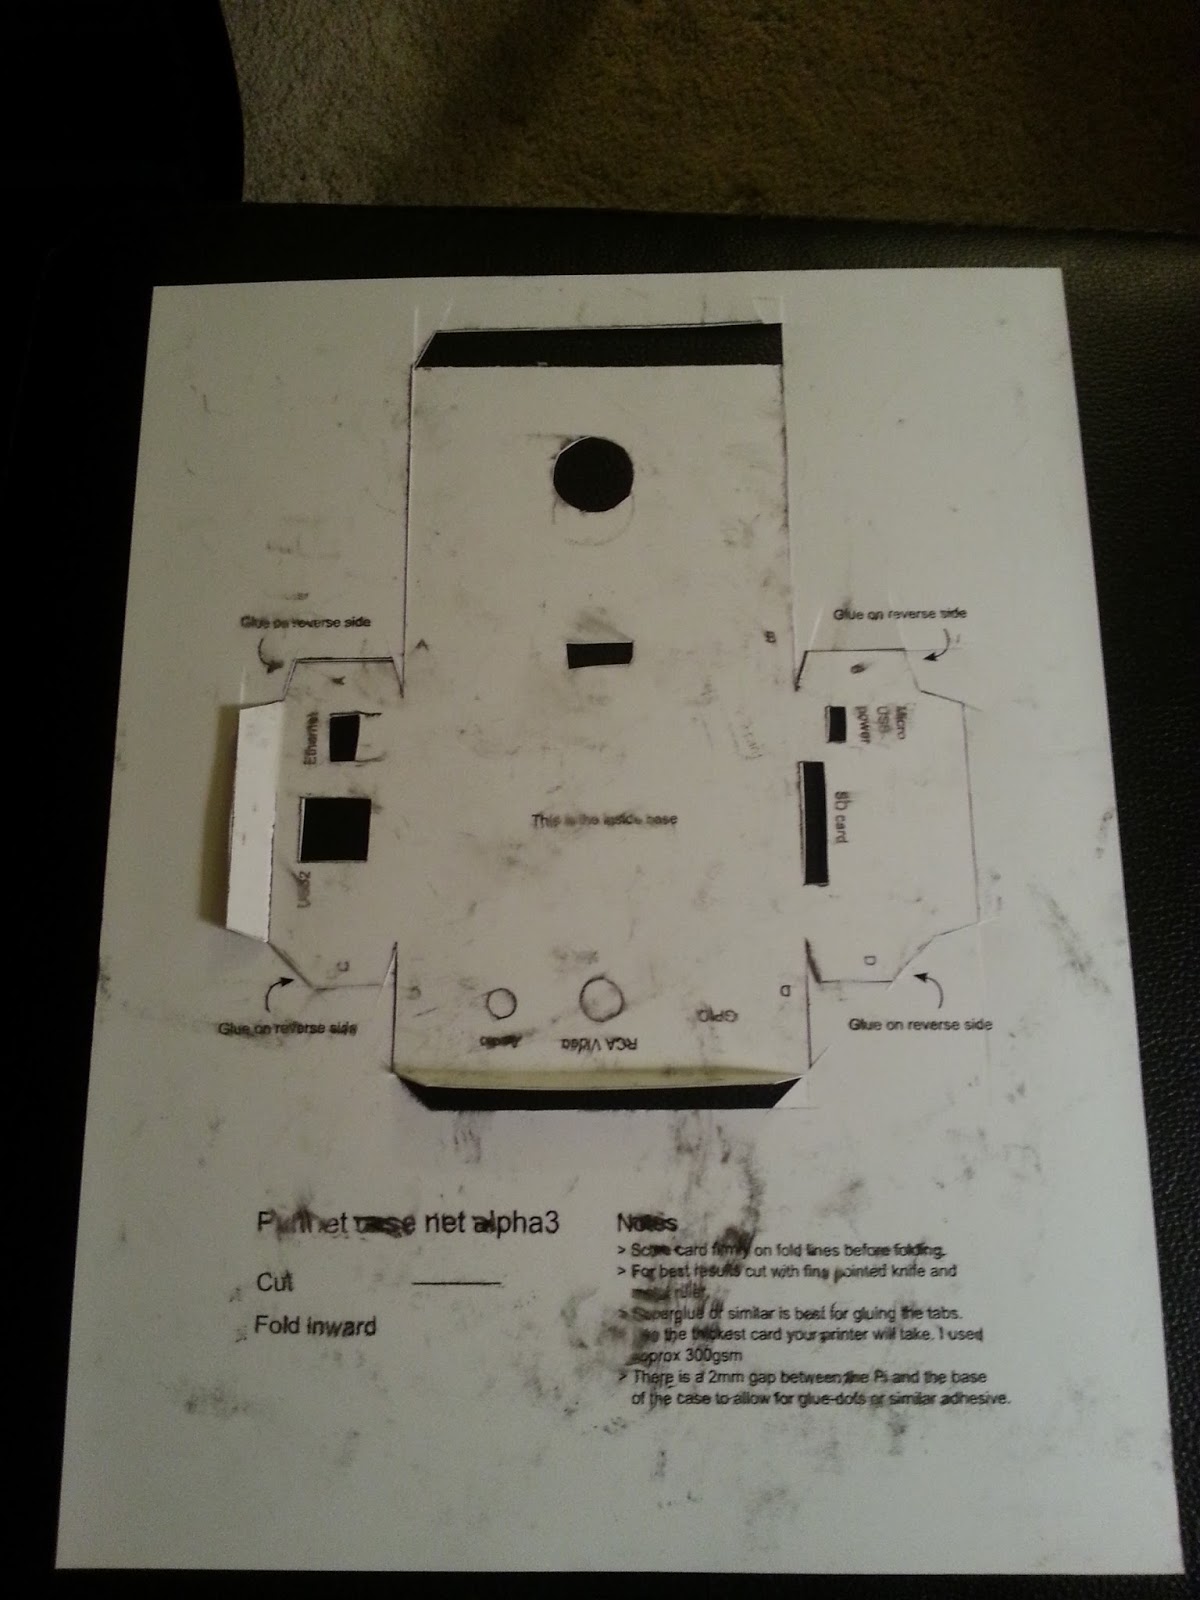
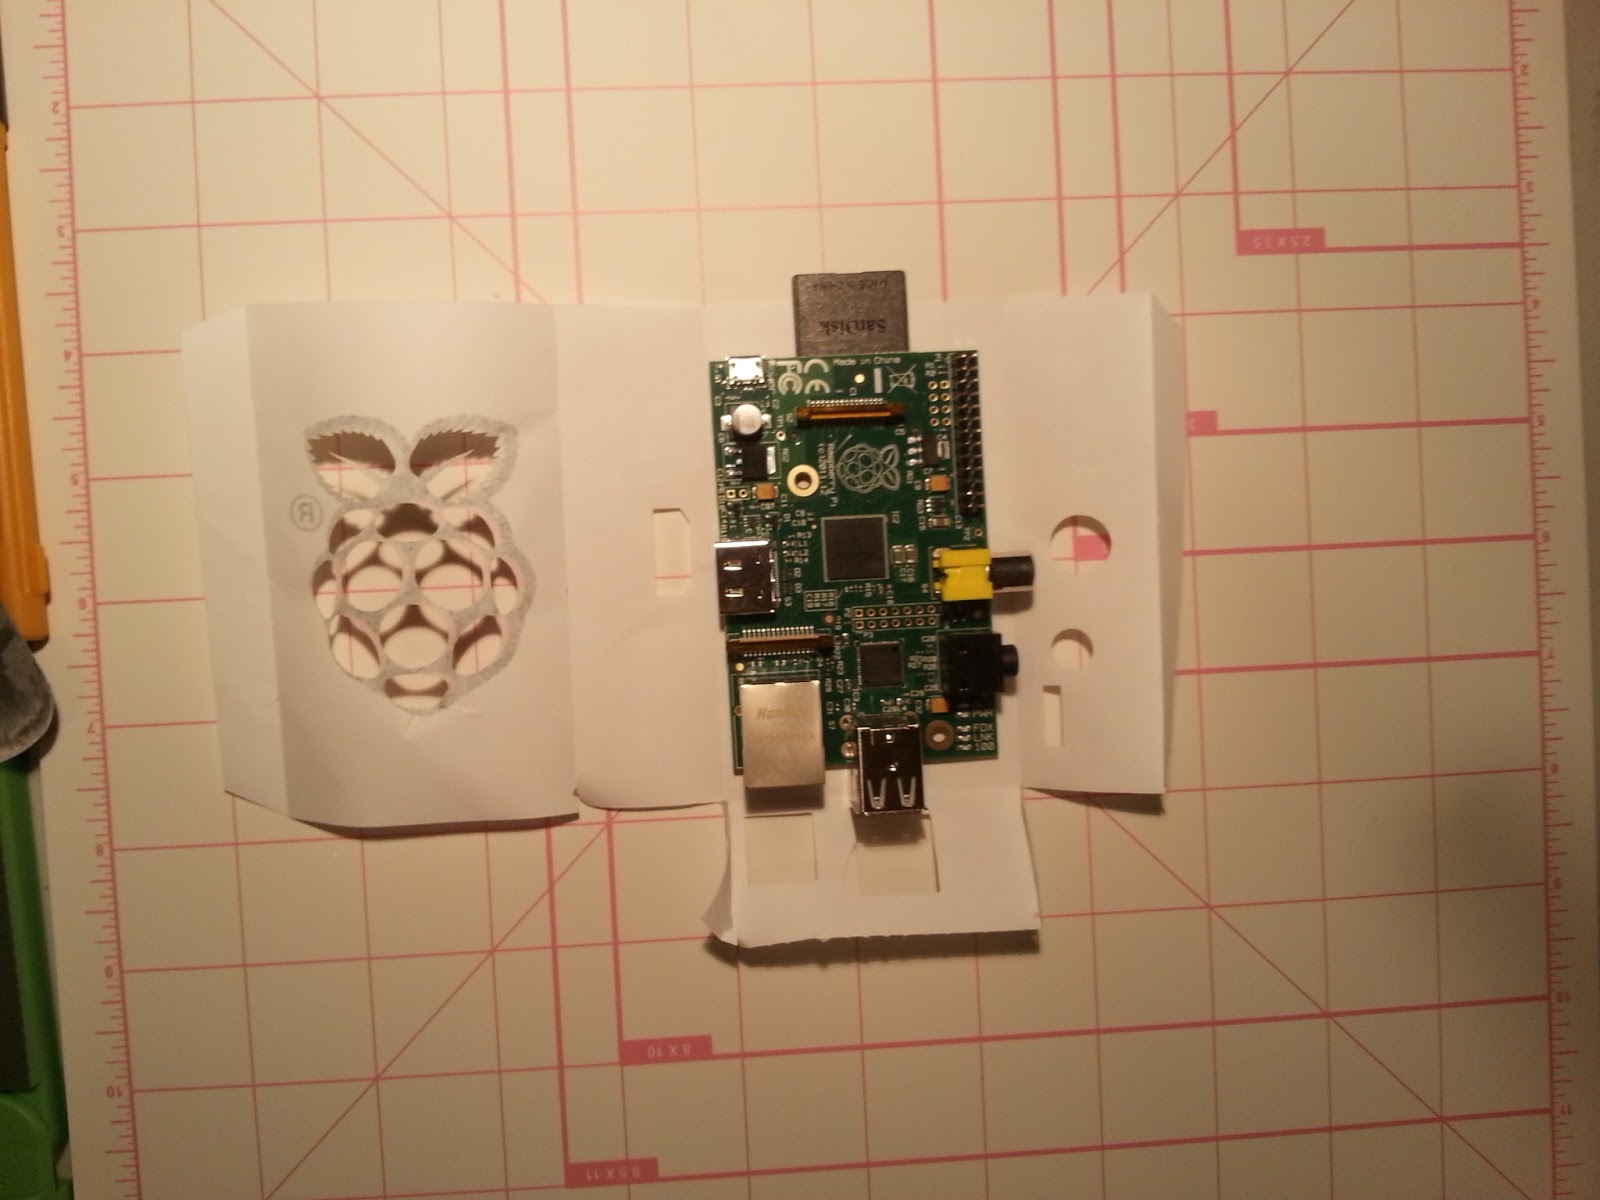
This case is a downloadable PDF or SVG file that has all the cut out lines you can print on any paper. I decided to print it on some photo paper because its the thickest paper i had near me.
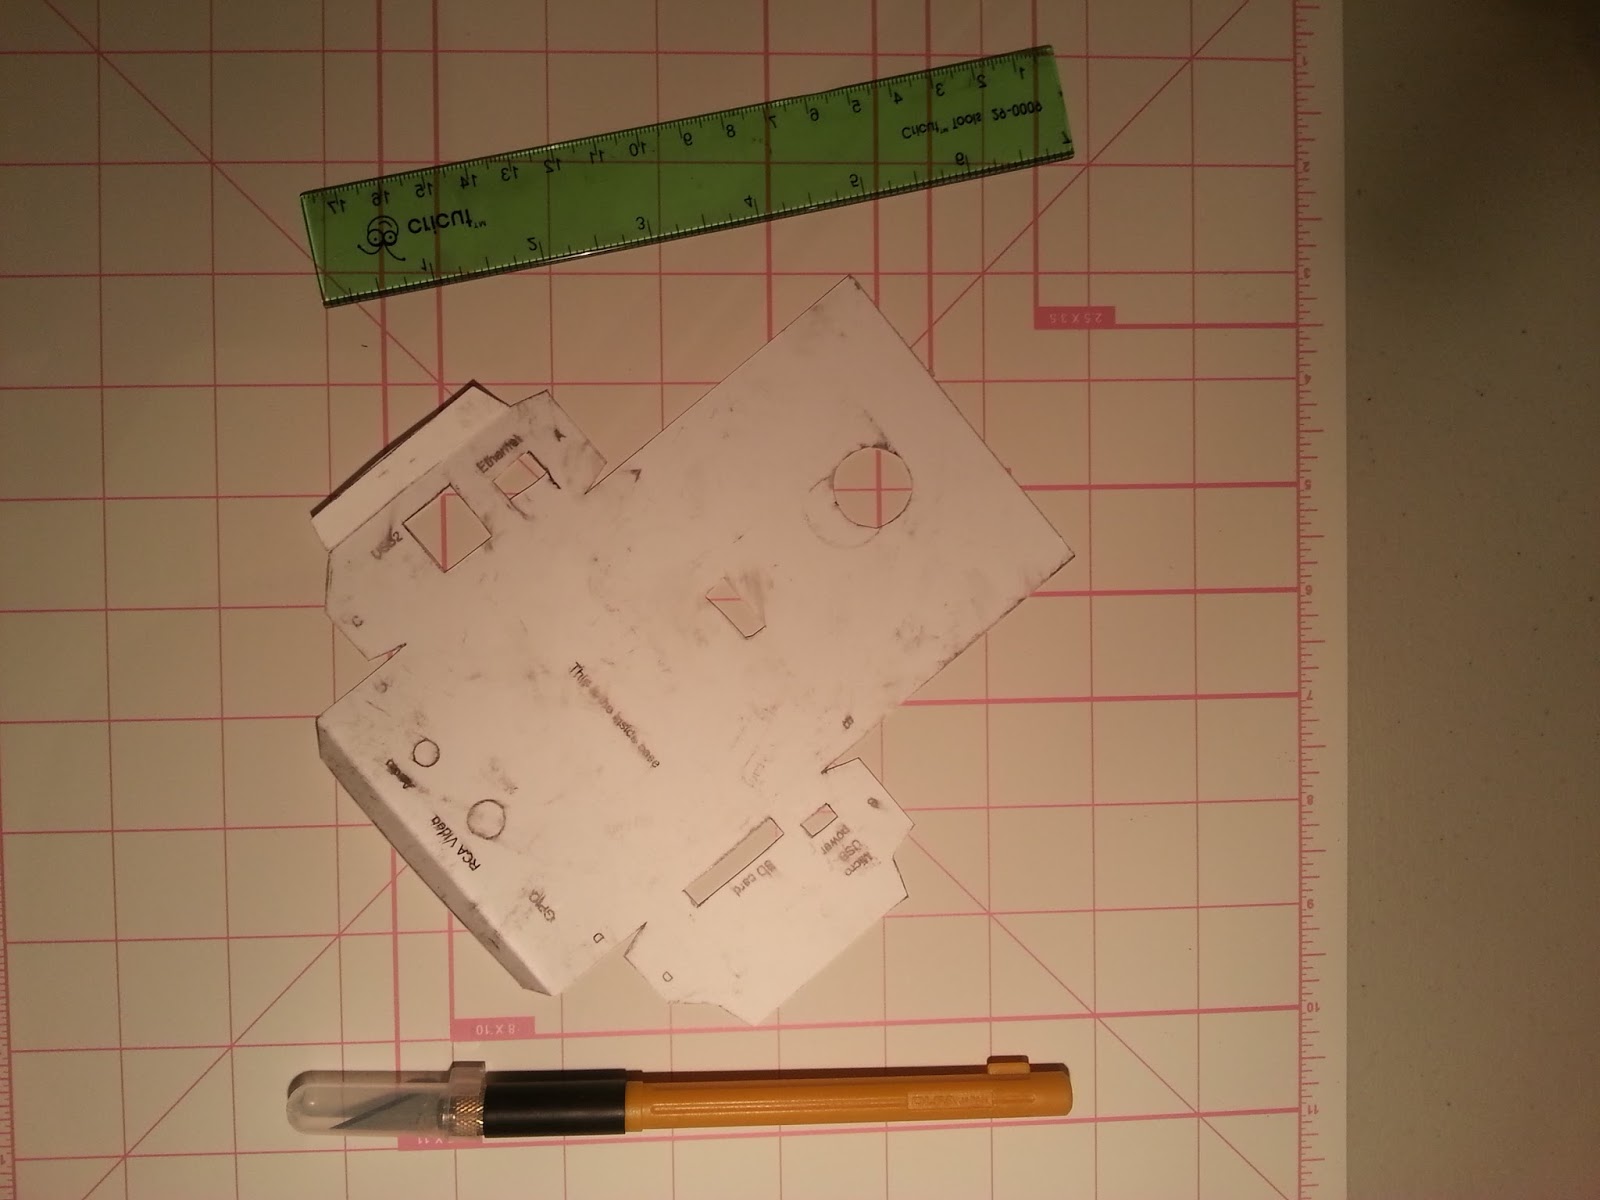
So I printed out the PDF to the paper and used an exacto knife and straight edge (ruler) to cut it out.
This turned out but I needed a fold the edges and I did not have a good way to do this. My wife mentioned we needed to use her crafty tools. And I ended up cutting off an edge instead of making it foldable (So I ruined the joints to glue).
My wife looks at me and said she has a machine that will cut out the image automatically. (Now I feel dumb...)
She has a Silhouette Cameo machine that you can cut out any image you want. How awesome is that right? This is similar to the Cricut but you can create custom images with its Design Studio software and buy single images of the web instead of a cartridge package that you might not use all the images in.
After showing my wife this project she thought this was a great opportunity to start playing with her new toy. This was her first time to create a custom cutout with the Cameo so it
took a while to figure out how to use the software. Thanks to some
awesome YouTube videos she was in business.
She imported the SVG file into her Design Studio and started some magic! She added a nice little Raspberry Pi Logo to the top air vent.
She needed to do a couple test runs to make sure it was going to look correct.
This turned out alright and she was on to cutting it out on red cardstock. She first printed the image and text on the paper with the registration marks. Then sent the cutout to the Silhouette Cameo. Here is the Silhouette Cameo design cutout file made from the others.
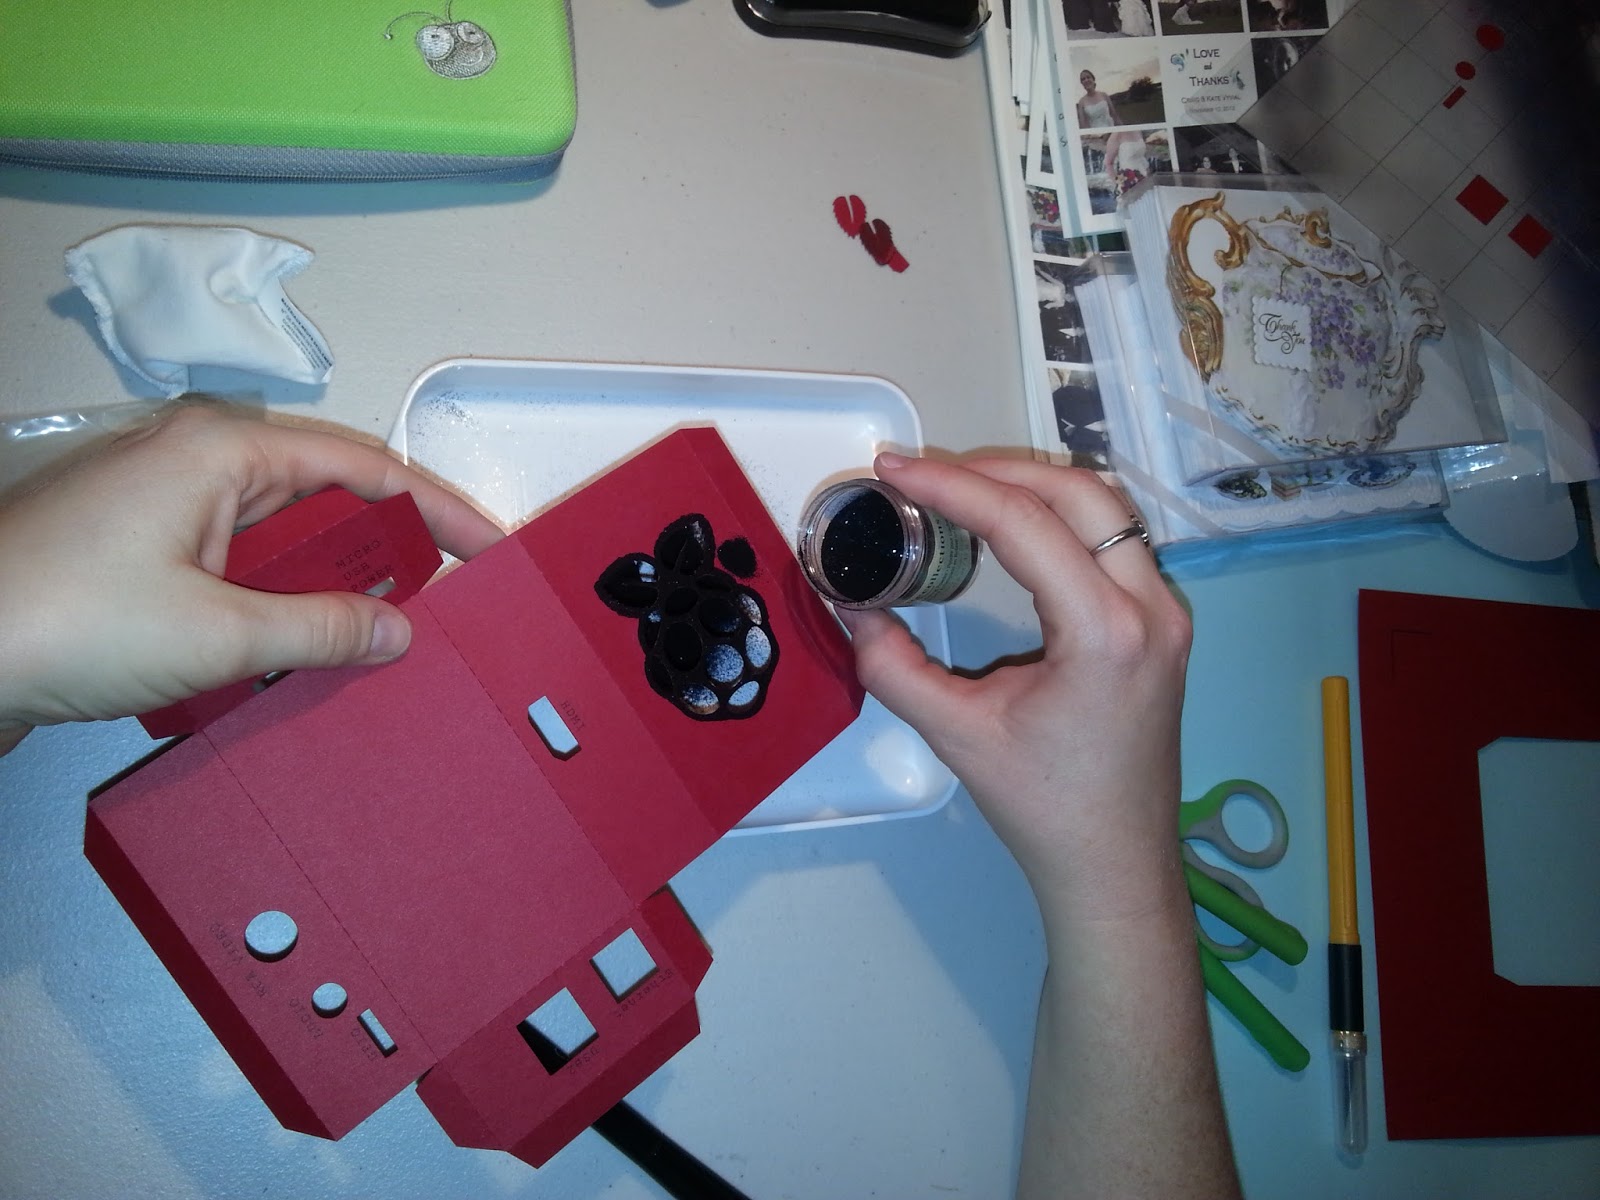
I was satisfied with the out come of the cutout and the box looked pretty awesome.
She was not satisfied yet... She needed to emboss the Raspberry Pi logo with her crafty setup.
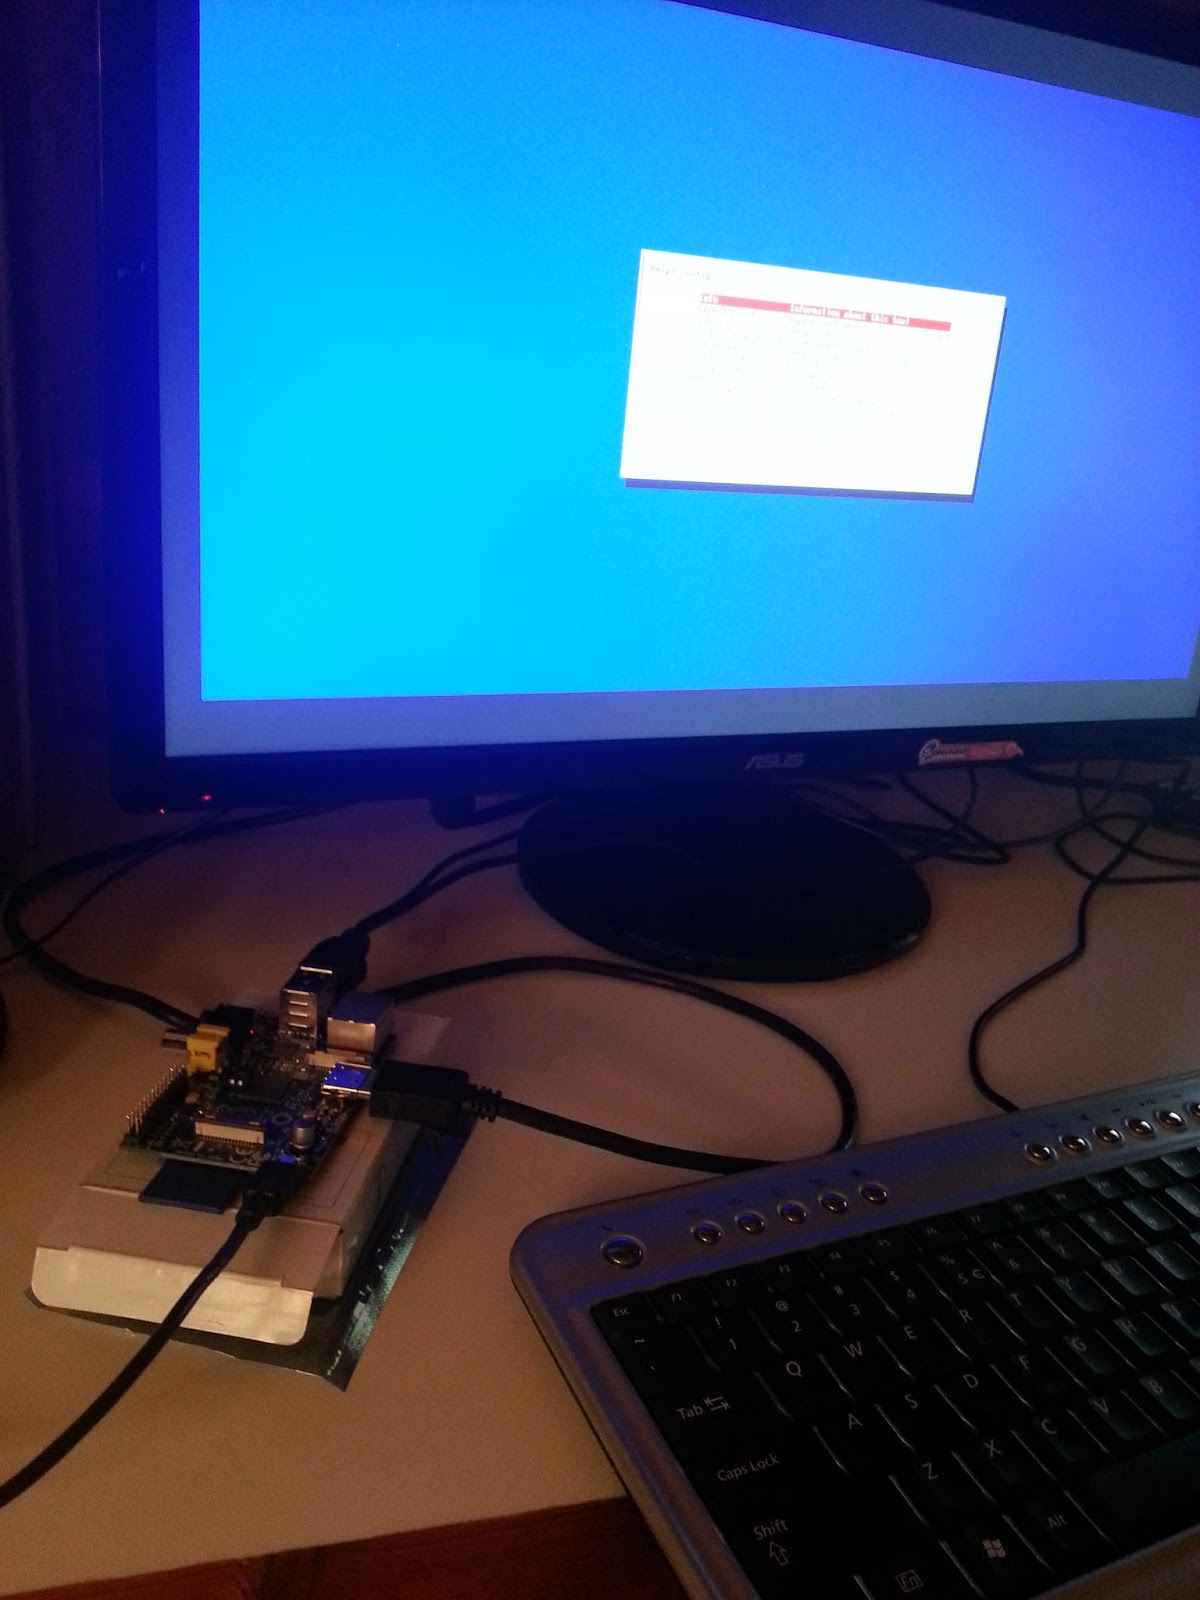
This was the final product booting up. What an AWESOME Raspberry Pi case!
Case Resource links:
In conclusion this case is on the cheap side but not as sturdy as I would like but does its job! I think the next case I will attempt to build is a plexi-glass case to see if it will be more sturdy.
Let me know how this design works out for you.
Let me know how this design works out for you.
Monday, January 28, 2013
Raspberry Pi Hackathon Idea - Web View
We had a hackathon at Rackspace this past Friday (1/25/2013). The hack I worked on was getting a Raspberry Pi to display a status web page. This seems to be a straight forward build. I was interested in this because the Raspberry Pi is $35 and can do just about anything you would like. There seems to be an unlimited number of projects that you can use these for including home automation, media center, or web browser.


Supplies used:
- Raspberry Pi
- HDMI cord
- USB power cord
- SDCard 4GB (Class 10)
- Laptop
First was to flash the SDCard with Raspbian. This is a Debian release optimized for raspberry pi hardware.
Linux from a terminal:
- $ df -h
or
$ fdisk -lFind the /dev/sdd1 that the SDCard is plugged into. Might be easiest to do this without the card plugged in and then a second time plugged and you should be able to tell which disk it is. - sudo unmount /dev/sdd1
Replace the /dev/diskX with the disk number of the SDCard. - $ unzip 2012-12-16-wheezy-raspbian.zip
- Once the disk is unmounted then you may start the imaging process by:
$ sudo dd bs=1M if=2012-12-16-wheezy-raspbian.img of=/dev/sdd - dd does not give any feedback of how the process is going and it could take 5 minutes to image. To get some feedback you can get the info of the process id of dd that is running.
In a new window or tab:
$ ps auxf | grep dd - With the process id # of dd type this:
$ sudo kill -s USR1 #Look back at the window running dd and you should see some info on the screen about how many bytes it has written.
Next, we needed to connect it all up and see if it will boot!
- Put the flashed SDCard into the Raspberry Pi
- Connect the HDMI cable to the Pi and TV or monitor.
- Connect a USB keyboard
- (Optional) Connect a USB mouse
- (Optional) Connect an ethernet cable to your router
- Connect the USB mini to power up the Raspberry Pi
Something we found out was that not all HDMI ports work the same. After a couple hours of working to get the Pi to display in 1080p we switched the HDMI port to the second one on the TV we had and it started working automatically. My first advice if the Pi is displaying in low resolution and it should be higher then try another HDMI port first.
After the boot up we need to expand the root file system to take advantage of the full SDCard space.
- expand_rootfs
Then the Root partition will be resized.
Configuring your installation:
- configure_keyboard if you are not using a UK keyboard.
- change_local
- change_timezone
- ssh - enable ssh to make it remotely accessible.
After the configuration if complete select the Finish button at the bottom and reboot the Pi.
Now after the reboot it will boot to the command prompt. In order to change any of the configuration options of the Pi after the first boot you may run:
$ sudo raspi-config
$ sudo raspi-config
The default username/password for Raspbian is pi/raspberry.
To get into the windowing mode you need to start the x windowing manager:
$ startx
The default windowing manager that Raspbian comes with is LXDE (Lightweight X11 Desktop Environment) This comes installed with a fast and lightweight web browser Midori.
I hope this might inspire you to get a Raspberry Pi and use it in an interesting way. As I work on other projects I will continue to think of interesting ways to use the pi. Here are some of the ideas I have found and thought about doing myself. Not sure what which I will get around to doing.
- Controlling water droplets (http://www.raspberrypi.org/archives/2986)
- Controlling a traffic light for multiple purposes like Jenkins builds
- Automating blinds to open and shut
- Control the easy button
Here are some other hacking ideas
Thursday, January 10, 2013
Openstack - Running Devstack in VMWare with Ubuntu and KVM faster!
After creating an Ubuntu 12.04 Precise default install on my VMware Fusion I noticed that the performance was never up to par to do development. I found later that there were some missing options that will allow the virtual machine to be much more performant.


I would suggest after setting these create a snapshot so that in cases where things break down you can revert to a clean snapshot.
ubuntu@ubuntu:~$ kvm-ok
Here is what I did to make a build go from about 10 minutes to about 2 minutes.
Shutdown the Ubuntu VM.
Go to the VM Settings -> Processors & Memory -> Advanced Options
There is one other option that may improve your performance overall as well.
Updating the Troubleshooting option is optional as it may cover up CPU lock up issues that I have seen in VMware.
Updating the Troubleshooting option is optional as it may cover up CPU lock up issues that I have seen in VMware.
Go to the VM Settings -> Advanced
Set the "Troubleshooting" option to "None"
I would suggest after setting these create a snapshot so that in cases where things break down you can revert to a clean snapshot.
Boot up the VM and run the devstack installation.
To verify that KVM is setup properly after the devstack installation you can run these commands.
ubuntu@ubuntu:~$ kvm-ok
INFO: /dev/kvm exists
KVM acceleration can be used
Subscribe to:
Posts (Atom)